 Homestead in the Holler is a participant in the Amazon Services LLC Associates Program, an affiliate advertising program designed to provide a means for sites to earn advertising fees by advertising and linking to amazon.com.
One of the first things that I wanted to do when we moved to our homestead was to get a garden started. It was the beginning of August, but I had dreams of a fall garden. After attempting to dig a few small beds, I realized just how rocky and hard the soil was! There is a lot of clay content in our soil, and a LOT of rocks. I did plant a few odds and ends, which did grow and we got a few things out of the garden that fall. But I knew that we could make it much better.
It was time to think about raised beds. More specifically, hugelkultur beds.
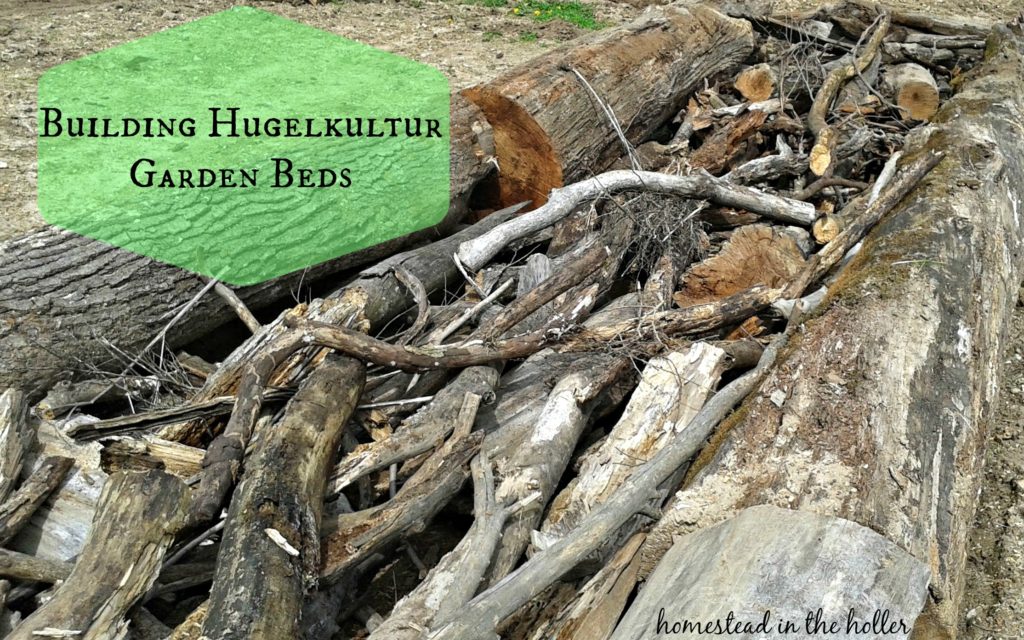
What is a hugelkultur bed? Hugelkultur is a German word meaning mound or hill culture. It’s a raised garden bed filled with rotting wood and topped with soil. The rotting wood on the bottom slowly breaks down, feeding the soil and retaining water. The older the bed, the better it works. It works well right away as a raised bed. It will just keep getting better as the wood breaks down and feeds your plants. Hugelkultur beds can be mounded or flat. Paul Wheaton has a lot of good information about hugelkultur beds here.
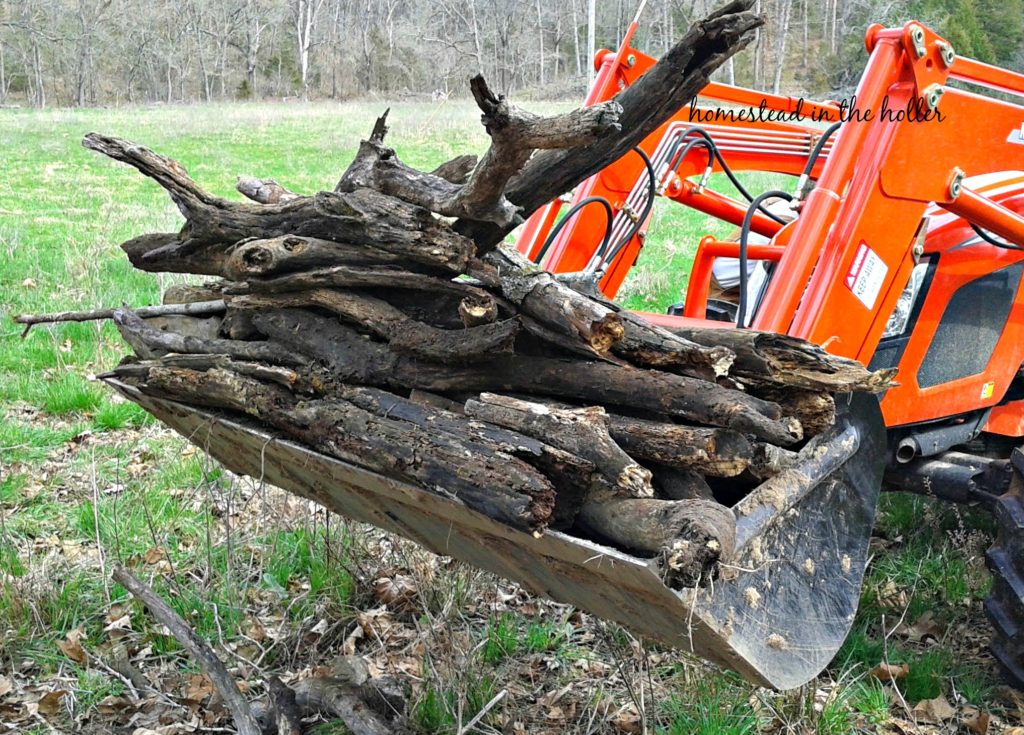
We have a lot of trees growing on our property. There are also a lot of fallen trees, in varying stages of decay. We decided to use what we had and made the sides of our hugelkultur beds out of tree trunks from dead standing or already fallen trees. I love it when we can source supplies from our own property! Most of the logs were quite large and required a tractor to get them into place. Locating rotten wood wasn’t a problem either. We found it everywhere! This was a great way to clean up an old homestead and put all that wood to good use!
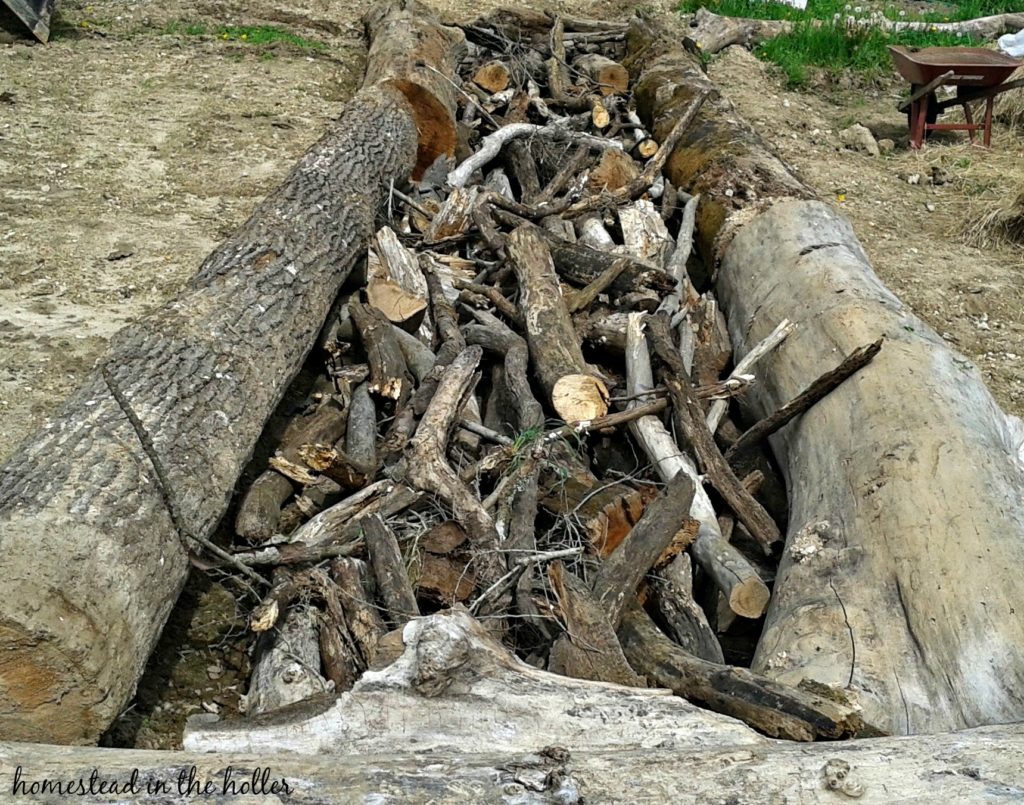
We scraped off the top soil to use for later and dug down a couple feet in the area that we placed the bed. The logs that were the edges of the bed were placed around the dug in area. That gave us a lot of space to pile up the rotting wood. The more wood you have in the bottom of the beds, the better! Next, we placed large pieces on the bottom and filled in the holes with smaller branches. Don’t worry about air pockets or branches that won’t lay flat or just so. The soil that you place on top will help push the branches down and the branches will settle over time.
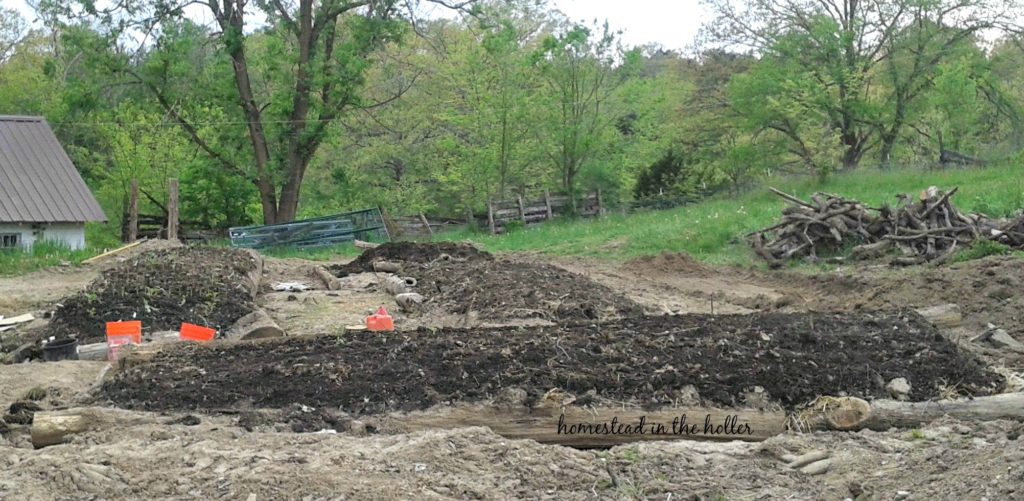
After putting the rotting wood into our new beds, we put some of the original soil back into the bed to cover the wood. After that, we experimented to see what would work the best. Some beds were covered in cardboard with a thick layer of topsoil and compost was placed on top of that. On others we mixed cow and chicken manure in with the clay soil, topping it with a thick layer of topsoil and compost. The rest was covered with just topsoil and compost mix.
Most of our beds are flat hugelkultur beds, with the exception of one mounded bed. I prefer the flat beds, they seem easier to plant and settle less. But I am curious to see how a mounded bed will work in 2 or 3 years. So we decided to include one in the garden.
Year 1:
I planted the garden as soon as the beds were done. It was a wet summer, and because of that, people had trouble with our clay soil retaining too much water and water logging their plants. Even though the hugelkultur beds were new and not to their full potential yet, I was very happy with how they worked. The plants didn’t become water logged in their beds. I rarely had to water, even in late summer when things dried up.
There really wasn’t a difference in how the beds worked with the variations that we tried. They all worked equally as well whether we used cardboard, manure or just topsoil and compost. The flat beds did seem to work better than the mounded bed, that may change over time.
In the spring it was noticeable that the beds had settled, as several beds had holes that went down to the branches. I filled those holes up with more topsoil/compost, smoothed the beds over and planted again.
Year 2:
The hugelkultur beds work much the same as the first year. My garden did very well and I watered the garden beds only occasionally. The mounded bed has settled significantly, which was expected, but it is still a mound shape. I continue to prefer the flat hugelkultur beds over the mounded bed, but it will be interesting to see if my opinion changes over the next couple growing seasons. Hugelkultur beds only improve with age!
This spring as I have been preparing the garden for cold weather crops, I have noticed that some of the branches that were close to the surface on the flat beds are starting to soften and break down. I haven’t found any holes to fill, the wood underneath has settled. I did find oodles of earthworms. This should be the year the hugelkultur beds start to really shine.
Year 3:
The beds continue to work excellently. As the wood breaks down, the soil sinks down, so I can see that I will be adding soil and compost to the beds every year. Which is ok, because I like to amend the soil yearly anyway. I am most impressed with the rich dirt that can be found in the beds.
Looking for other ways people have used hugelkultur?
Chris from Joybilee Farm made these awesome beds for older homesteaders.
Liz from Eight Acres uses hugelkultur to rehabilitate an area on her property that was eroding.

Hi! Around here I wear many hats. Homesteader, farmer, homemaker, homeschool mom, gardener and builder. We strive for a simple, self-sufficient life on our little piece of paradise. Read more



Pingback: How to Fix Rocky Soil with Permaculture • Homestead Lady
Pingback: How to Fix Rocky Soil with Permaculture • Homestead Lady - Survivalist Briefing